Step up your filming game- UCanJi
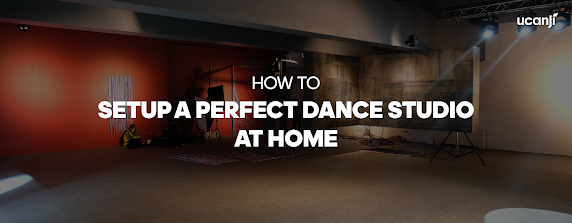
Arrange your Filming Studio
Your filming setup is essential to help your students have an amazing learning experience. An effective studio helps learners to understand your training better and eliminates any inconvenience like buzzes or shaky camera. Fortunately, you can create professional dance tutorial videos by following these steps:
Choose Your Equipment:
- Camera and Microphone: If you are a beginner, you can start creating your courses with the camera you own but you should consider investing in a good-quality microphone.
- It will improve the audio quality by reducing any background noise and will capture your voice better for the video.
- Lightening: Most of the time, the natural light is enough for a good quality video but in case you have an indoor dance setup with zero external lighting, you can consider some additional light source like a tree-pointed lightening kit.
Choose the right Resolution:
This is basically the quality of the video, which is determined by the pixels in the frame. The recommended resolution for your dance lessons on UCanJi is 1920X1080, 1280X720.
Frame your Shots:
You need to adjust the camera to capture the perfect shot:
- While showing your dance moves you might need a wide space, so it is best to place the camera a bit far away so that it can capture the complete steps.
- Use a tripod stand to ensure that your camera is steady.
#ProTip: Always maintain a clean video background and keep it in contrast to what you are wearing during the lesson.

Comments
Post a Comment